As described in the earlier pages, this project is based around the use of a portable audio recorder...
A Sony ICD PX333 device was selected for the project - not only because it was within budget - and can produce excellent quality audio - but also because it fits snugly into the 40mm (1.5") housing tube!..
The actual assembly of the whole unit is very simple... just follow the instructions below..
The Microphone 'Housing' Tube:
• Take a length of 40mm (1.5") seamless black PVC waste pipe, and cut a piece to the required size.
• A cut length of about 180mm (7") seems to work well. (You can of course select any length you want)
• Ensure the cut ends are parallel, and clean off any burrs... One end is always on view - so the neater the cut the better the housing looks!

The Microphone Housing End Stop:
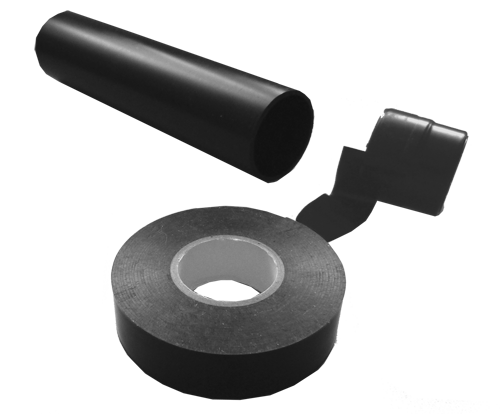
• One end of the housing tube needs to be neatly sealed, to present a professional looking 'cordless' end to the tube. As suggested earlier, you can use anything to hand that will serve the purpose. The photo on the right shows a typical end stop, made using a Listerine mouthwash bottle cap.
• Wrap black insulating tape around the cap, so that it fits very tightly into the housing tube.
• Adding extra tape around the part of the cap that shows externally is of course optional - but may help to stop the end cap looking like a bottle top!
Housing Tube Assembly:
• You will need to obtain some suitably sized foam block offcuts to insert into the tube. These can be purchased from your local craft hobby shop - or 'liberated' from an old cushion (or from a new cushion - as long as no one finds out!)
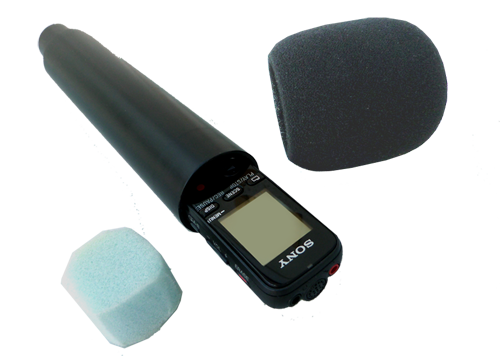
•Cut the blocks to an approximate size - typically about 40mm (1.5") square.
• Cut the corners to create a rough octagonal shape (see the photo opposite).
• You will need enough blocks to allow the recorder to line up with the top edge, when inserted fully into the tube - This will typically require 3 or 4 pieces (don't forget to insert a block into the end cap).
• The insulating tape wound round the end cap needs to be of a sufficient number of 'turns' to allow the end cap to fit tightly into the tube.
• Fit a foam block into the end cap, and insert the cap into one end of the tube with a 'twisting' motion.
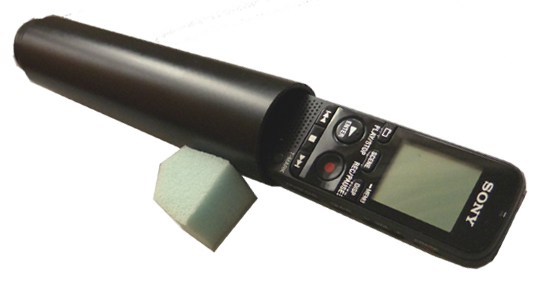
• Once this is in place, insert the other foam blocks from the open end of the tube, one at a time. Push them down the tube as far as possible, and after fitting each block, insert the recorder into the tube to check the position.
• Once the recorder is in the right postion (see the photo), prepare a smaller block to insert into the top of the tube to stop the recorder from moving from side to side. It will be a pretty tight fit anyway, but to eliminate all handlng noise, the recorder needs to be completely prevented from moving about within the tube.
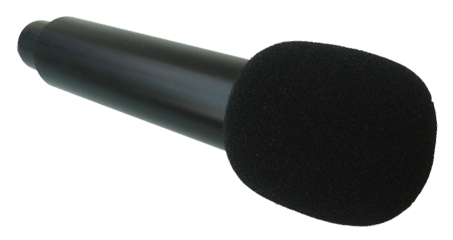
• The final piece of the assembly is to place the windshield over the open end of the tube.
• That's it!.. click on the the 'Use' box below for tips on how to get the best from your new mic..